
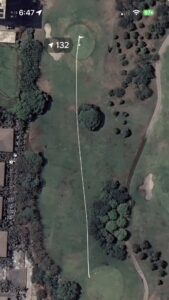
Hole – 1
(Par 3, 139/129 Yards): A moderate opening hole that requires a precise iron shot to a well-guarded green. Avoid pulling the ball left, as bunkers and undulating terrain can make for a difficult up-and-down.
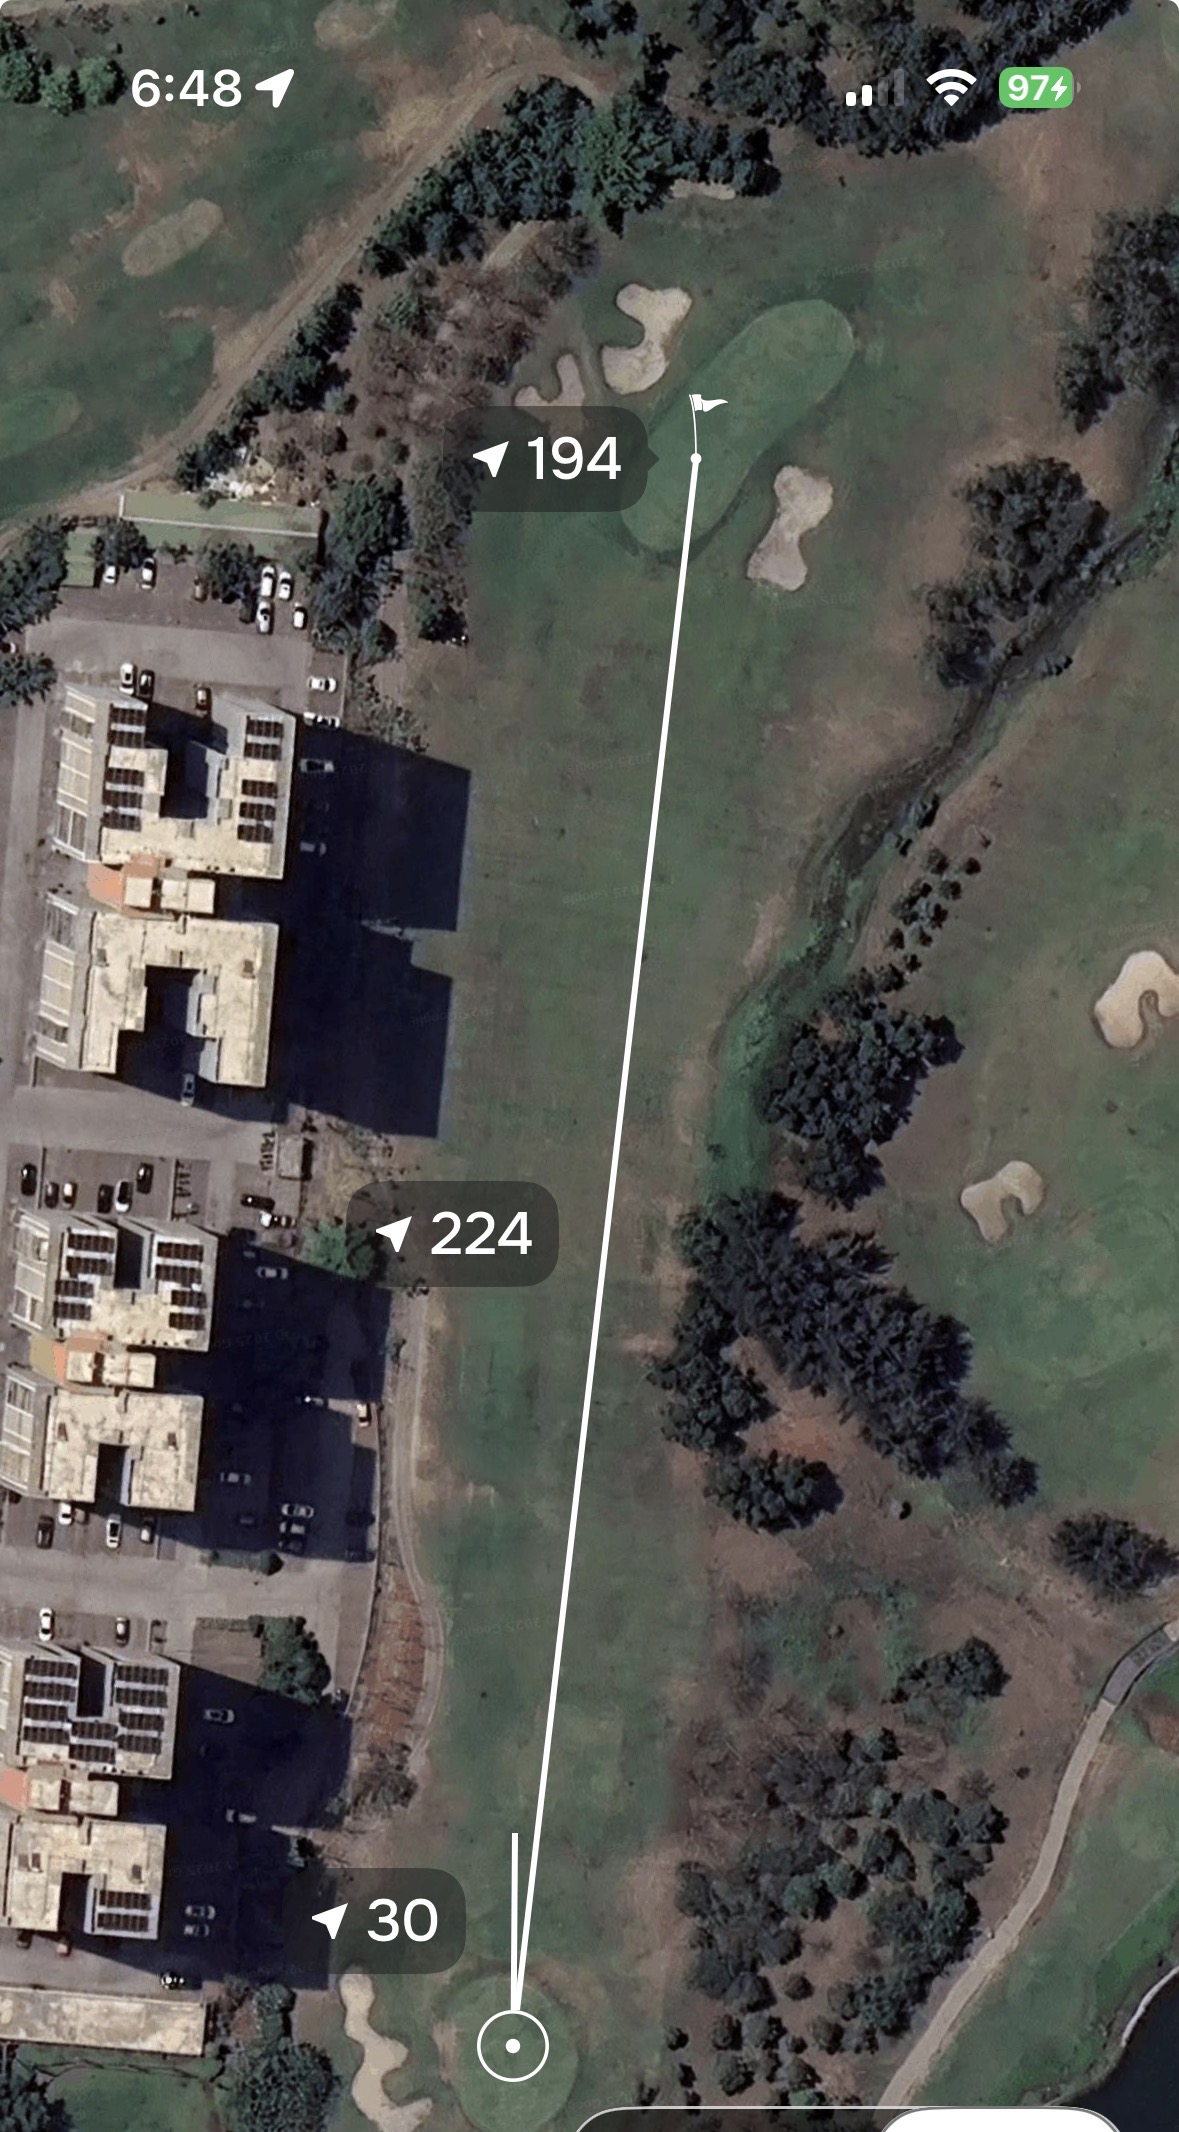
Hole – 2
(Par 3, 206/171 Yards): The third-hardest hole on the course (Index 3). Its significant length requires a long iron or hybrid, and players must navigate strategic bunkering to find the putting surface.
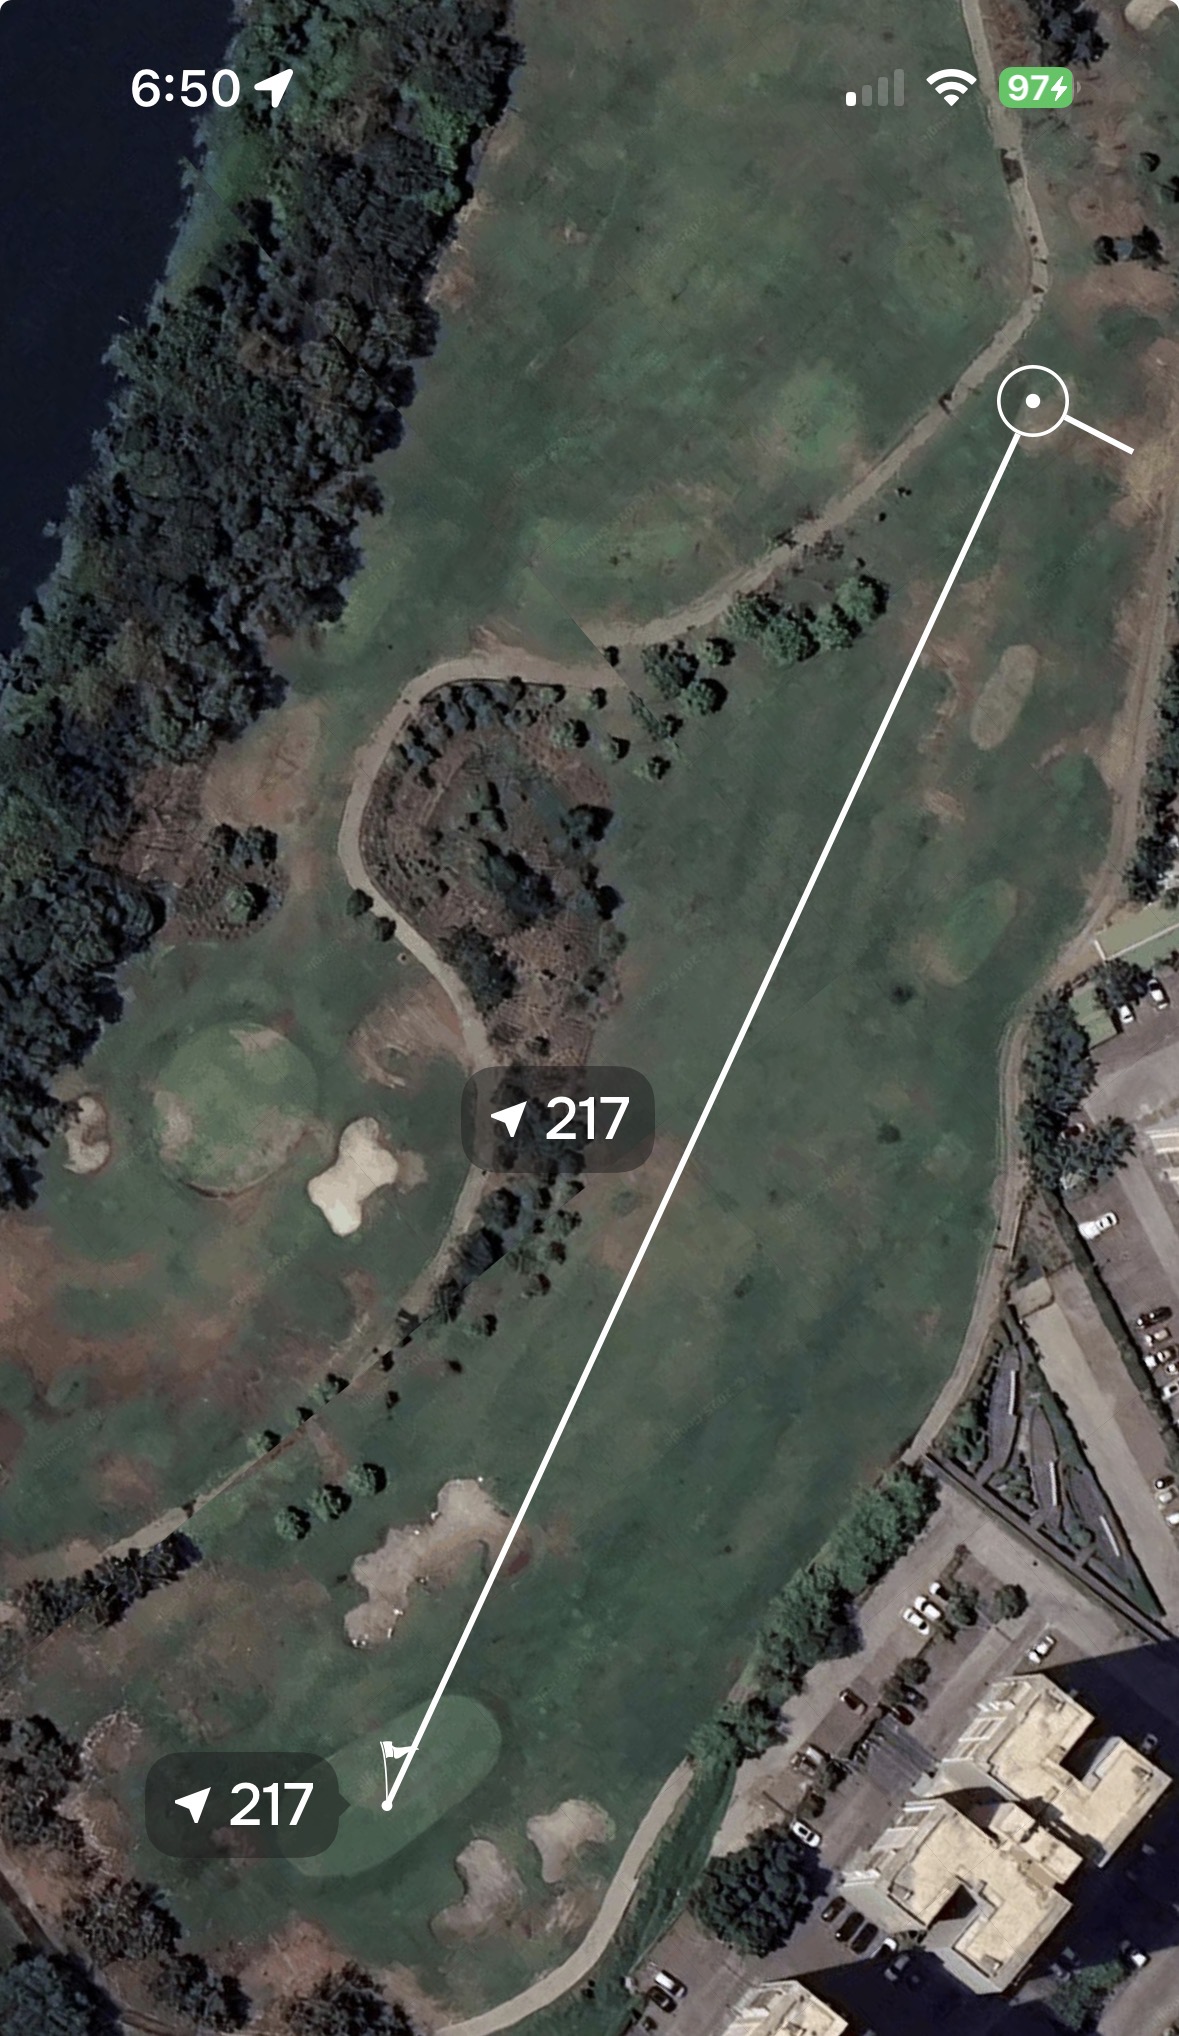
Hole – 3
(Par 3, 234/191 Yards): Ranked as the most difficult hole (Index 1). At over 230 yards from the blue tees, it is one of the longest par 3s in the country, demanding a wood or hybrid and extreme accuracy.
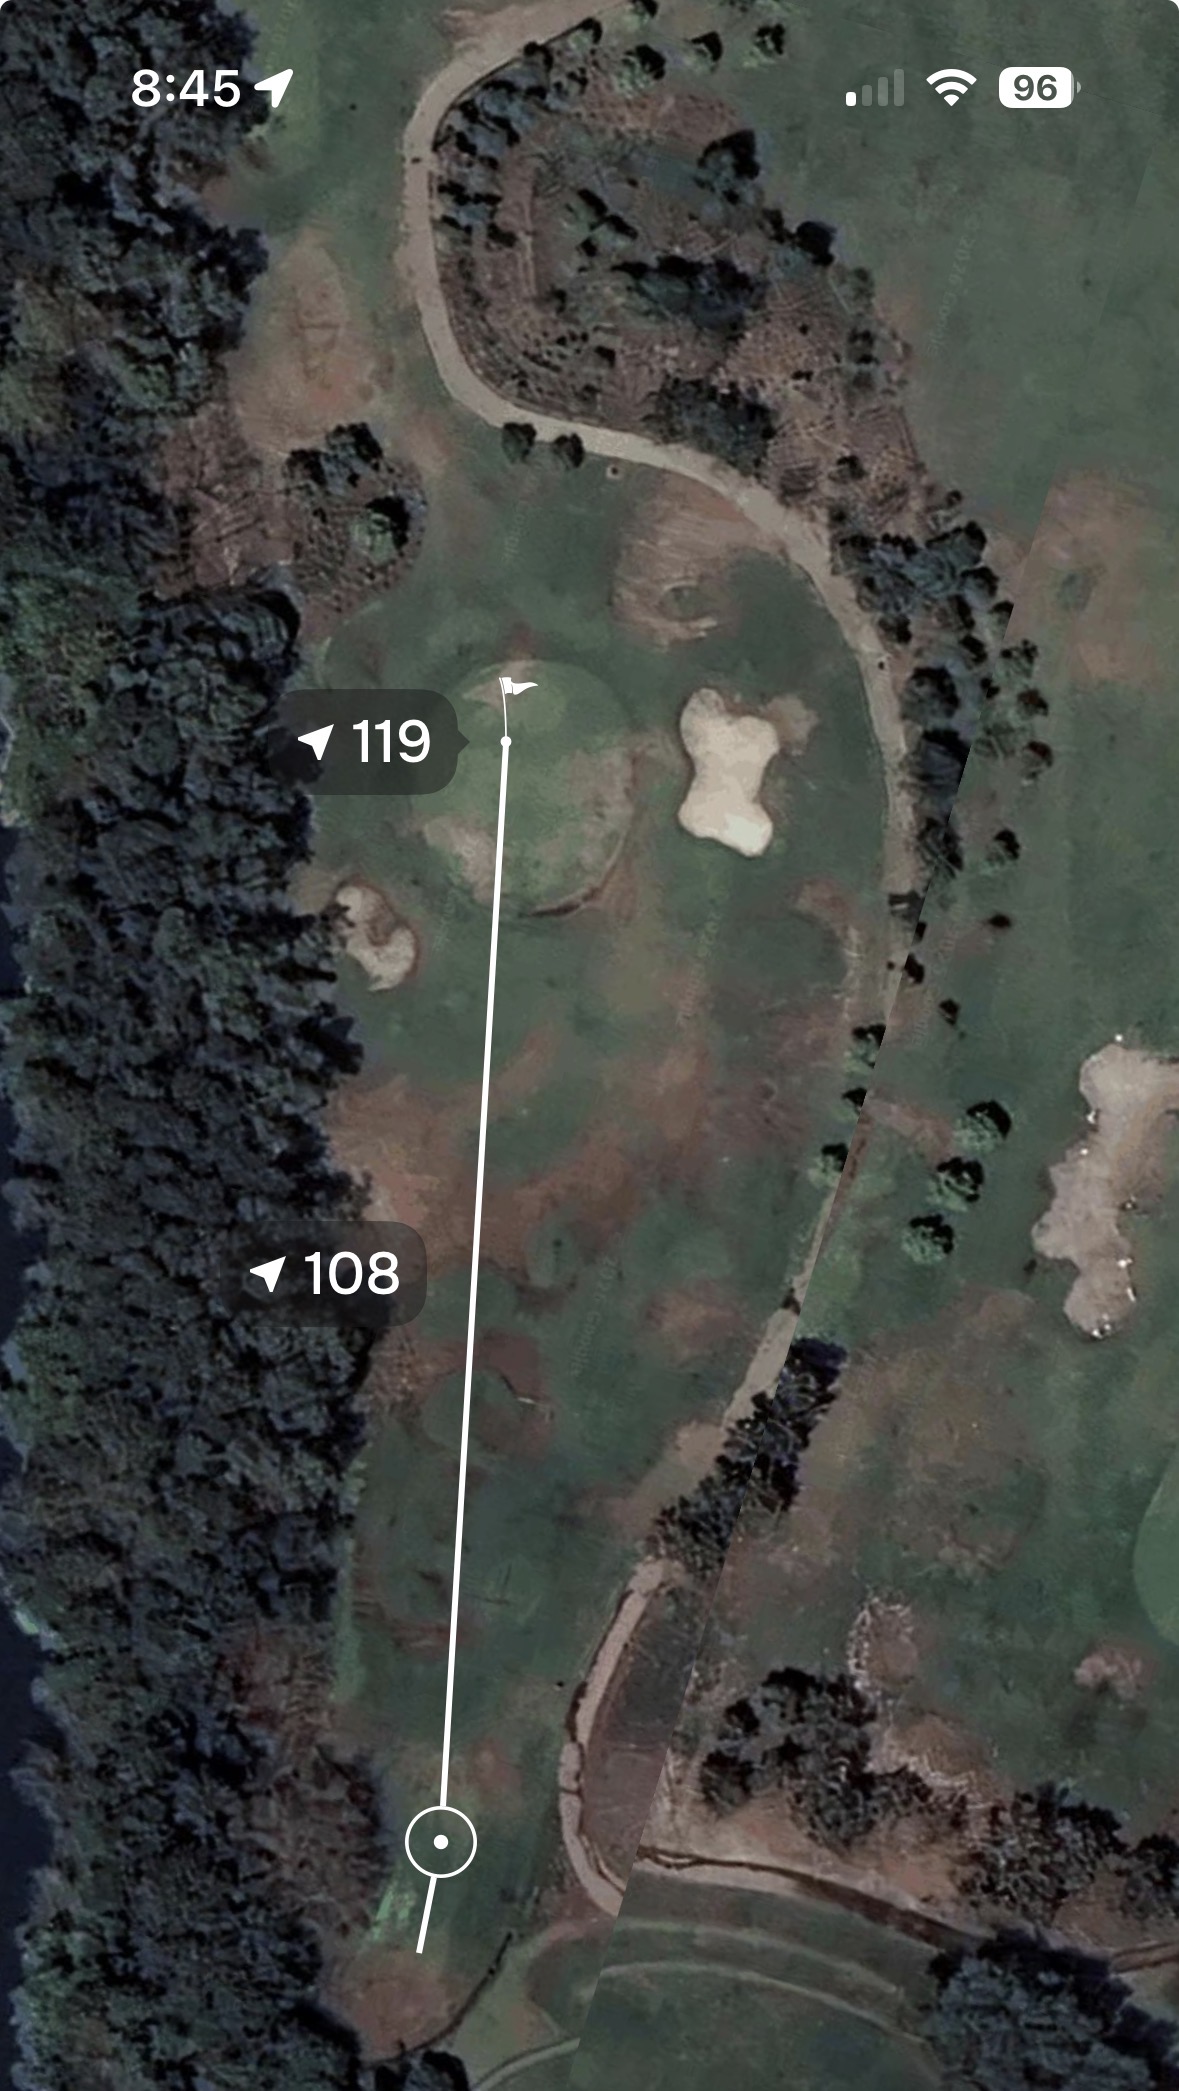
Hole – 4
(Par 3, 118/90 Yards): The shortest and technically “easiest” hole (Index 9). It offers a good birdie opportunity, but the small green requires a high, soft wedge shot to hold the surface.
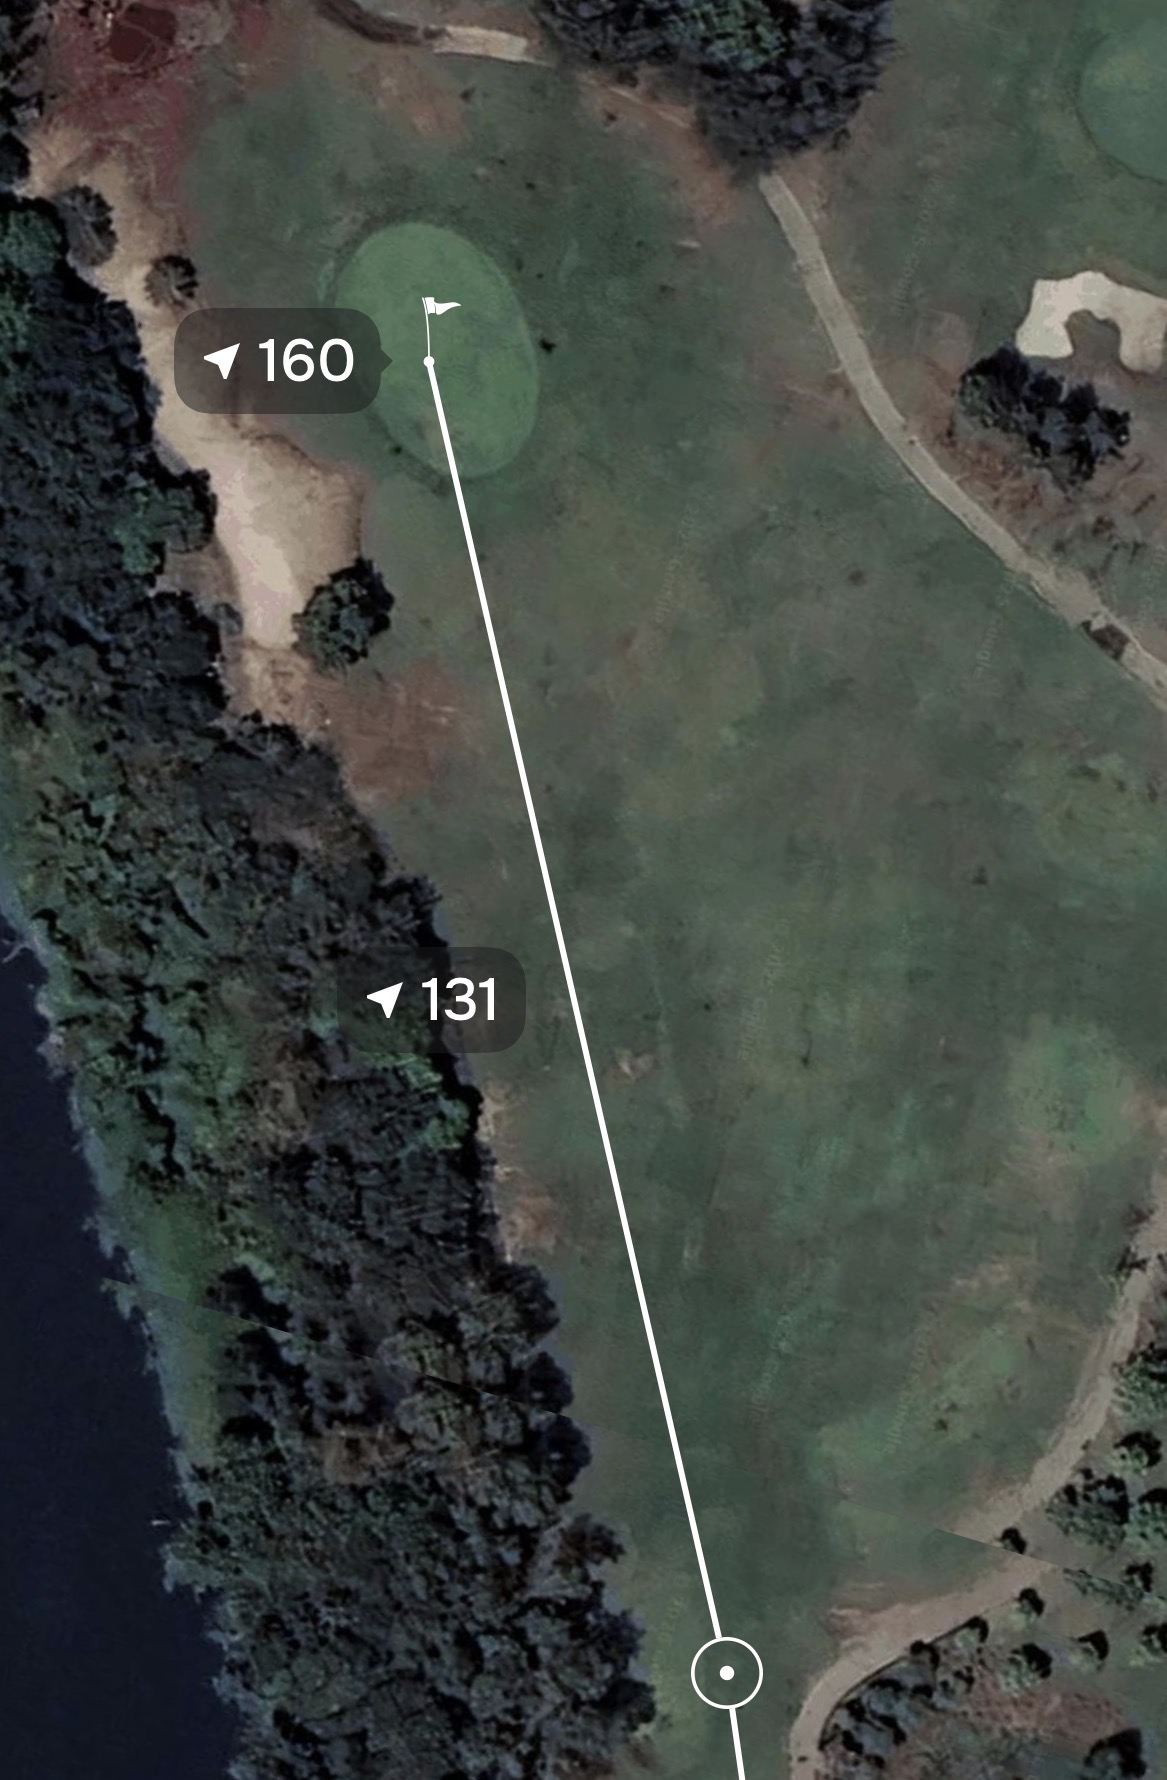
Hole – 5
(Par 3, 164/139 Yards): A mid-length hole where club selection is key. The green is often protected by water or bunkers, making a “center-of-the-green” strategy the safest play for par.
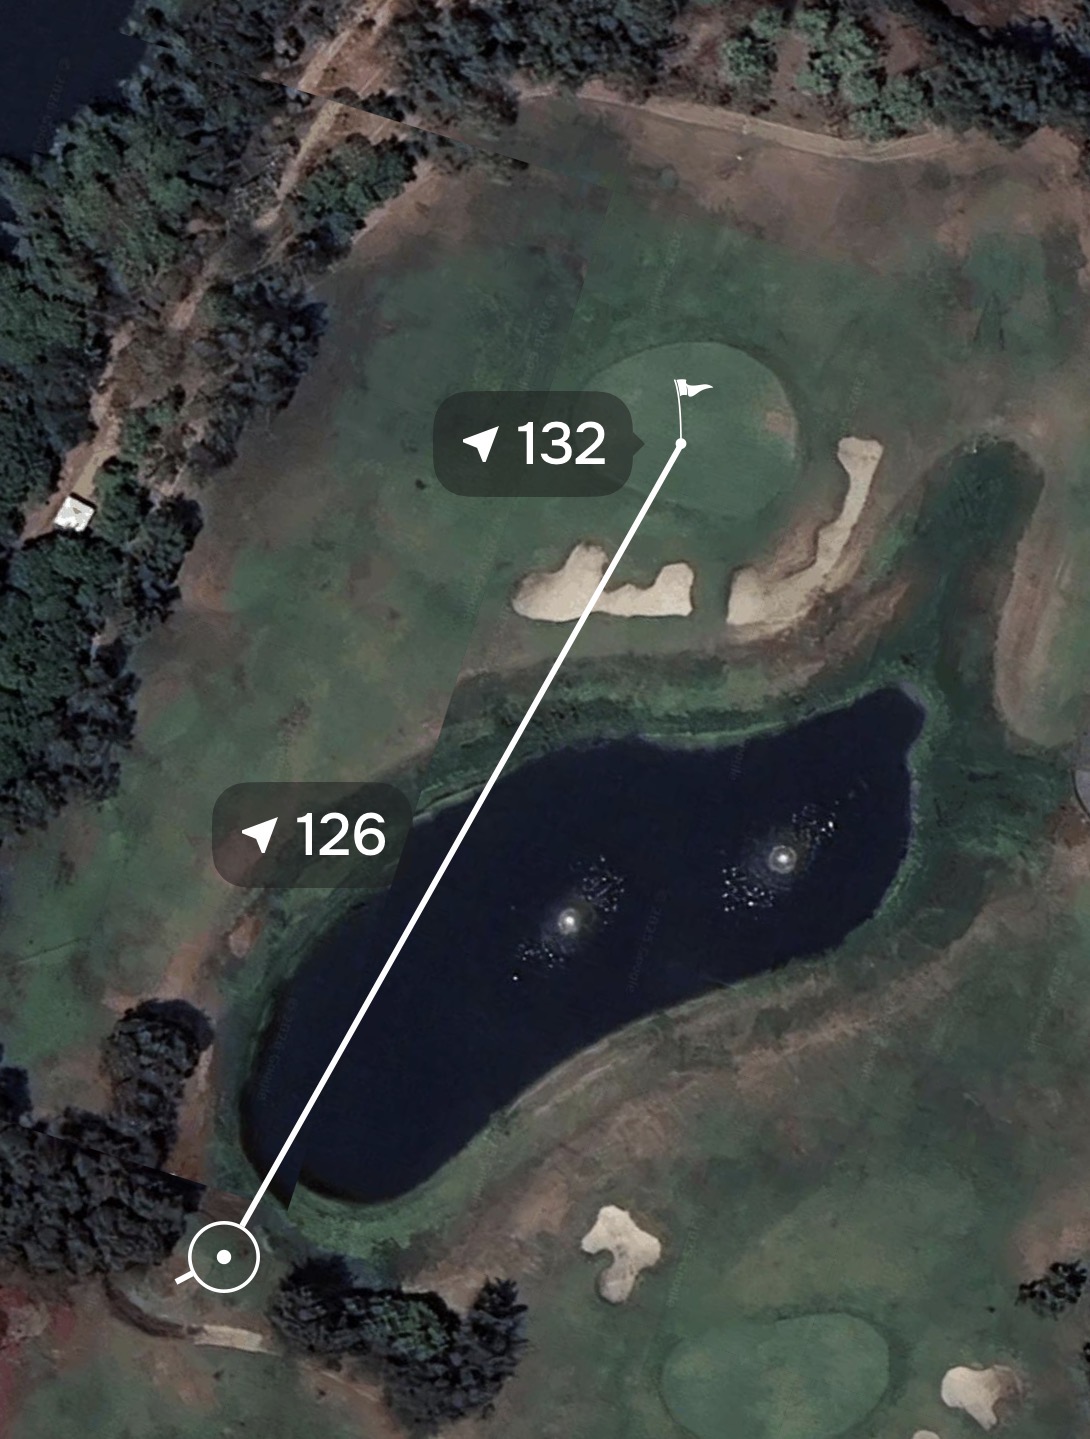
Hole – 6
(Par 3, 150/129 Yards): Requires a consistent mid-iron. The challenge here often lies in the water hazzard, so aim for a flat spot to avoid a tricky three-putt.
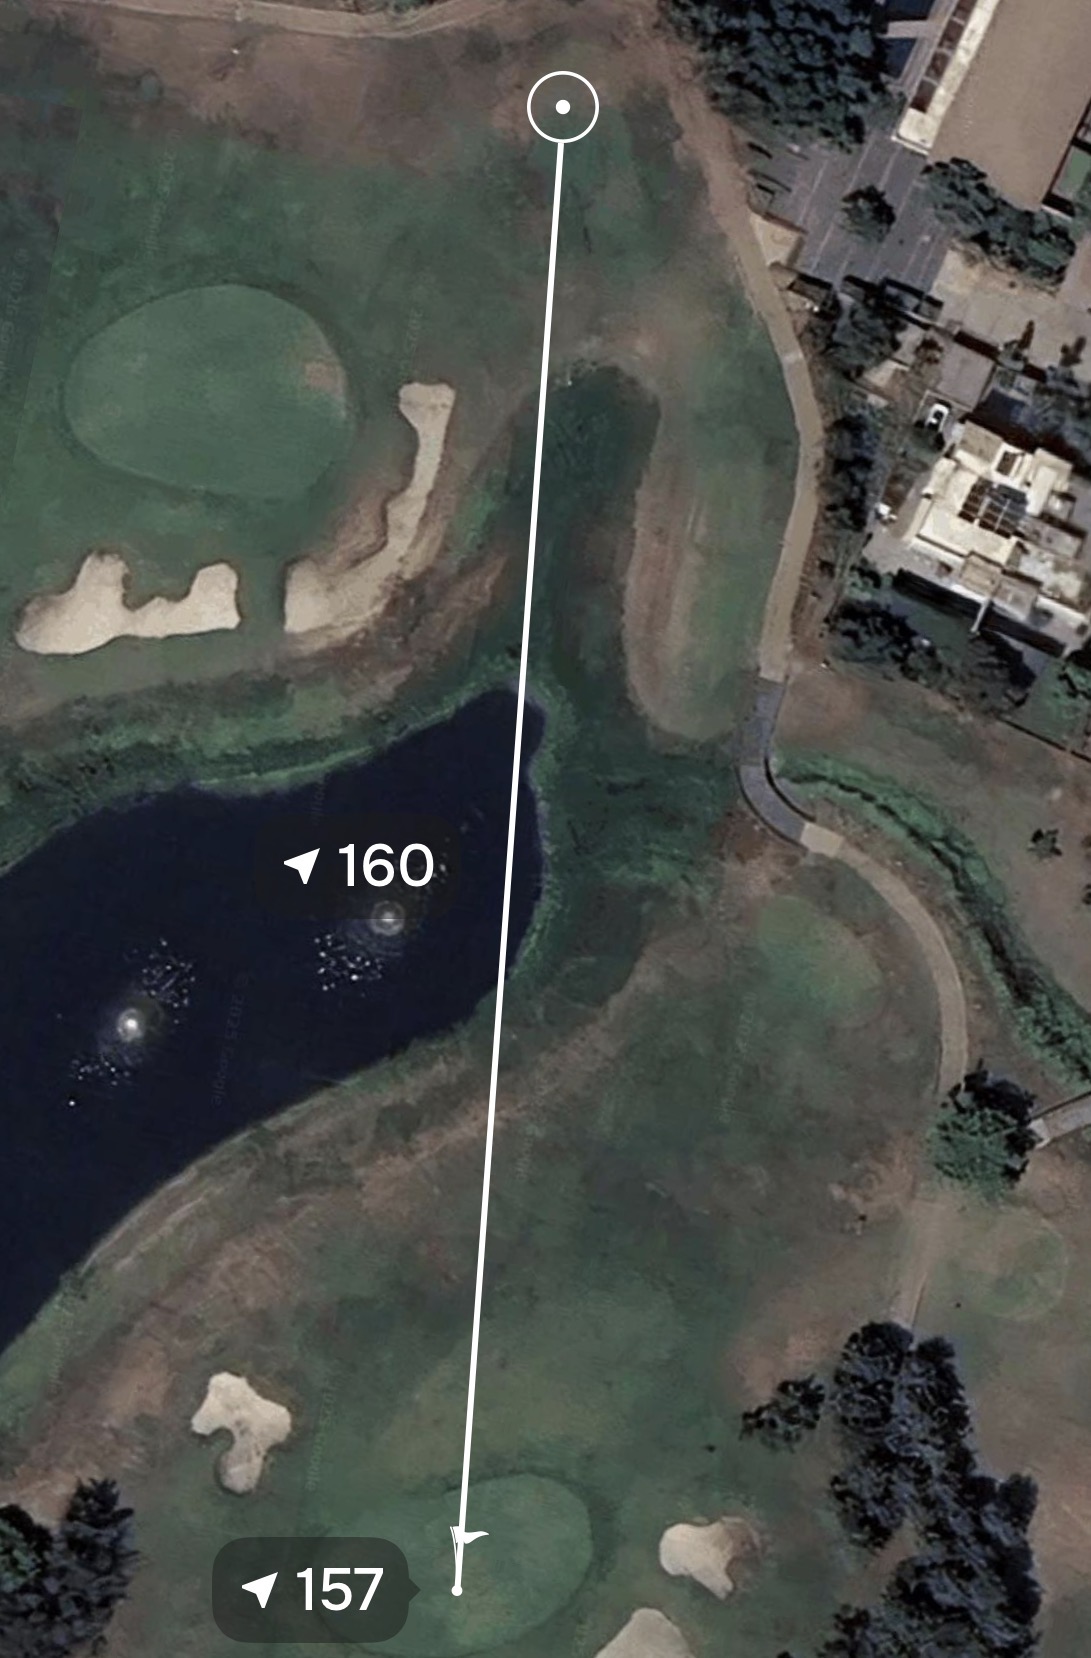
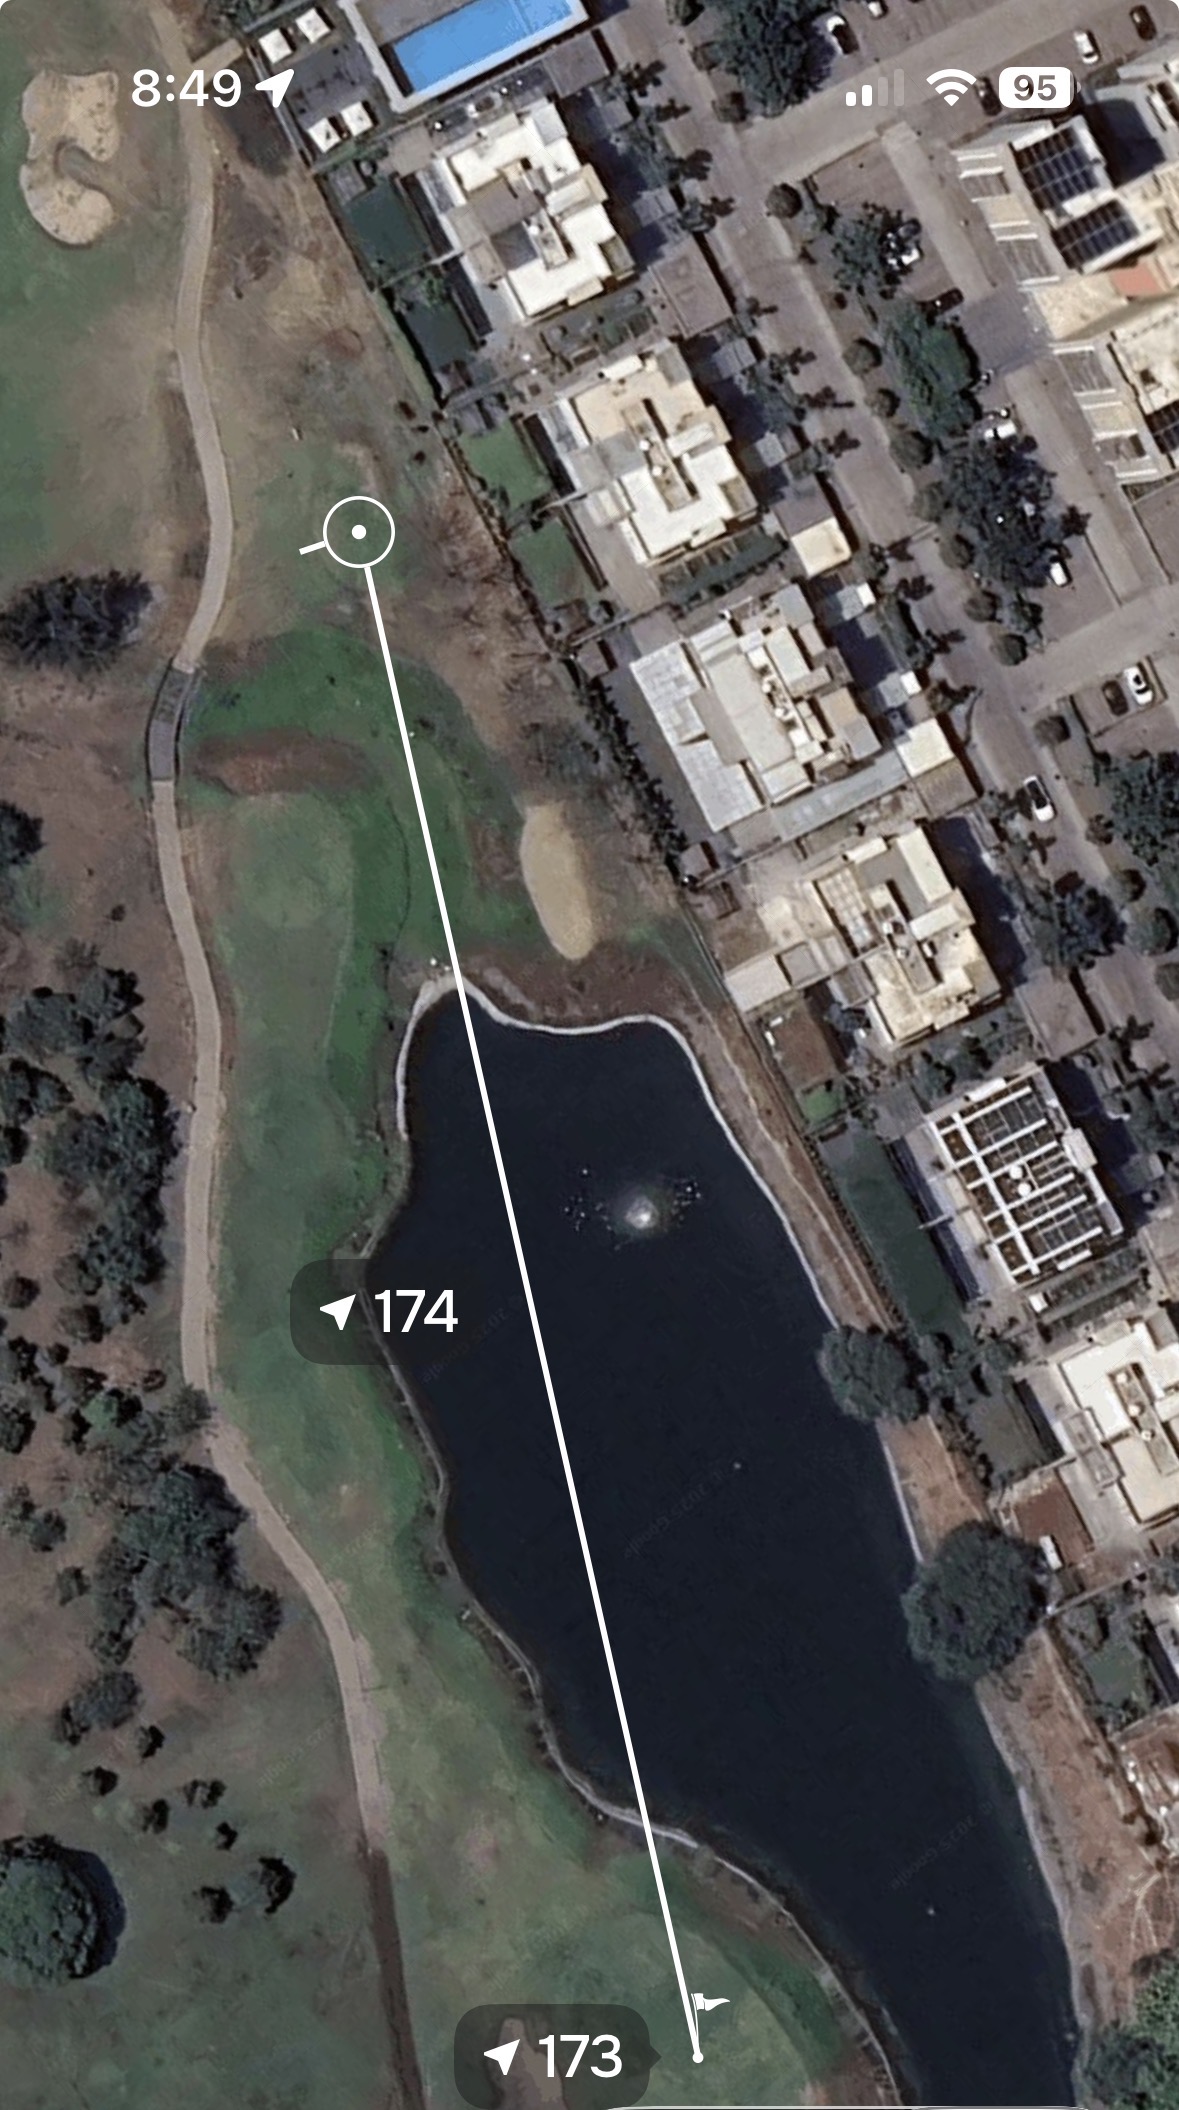
Hole – 7
(Par 3, 174/129 Yards): A challenging tee shot that often plays into the prevailing wind. Focus on a smooth tempo rather than power to ensure you clear any hazards guarding the front of the green.
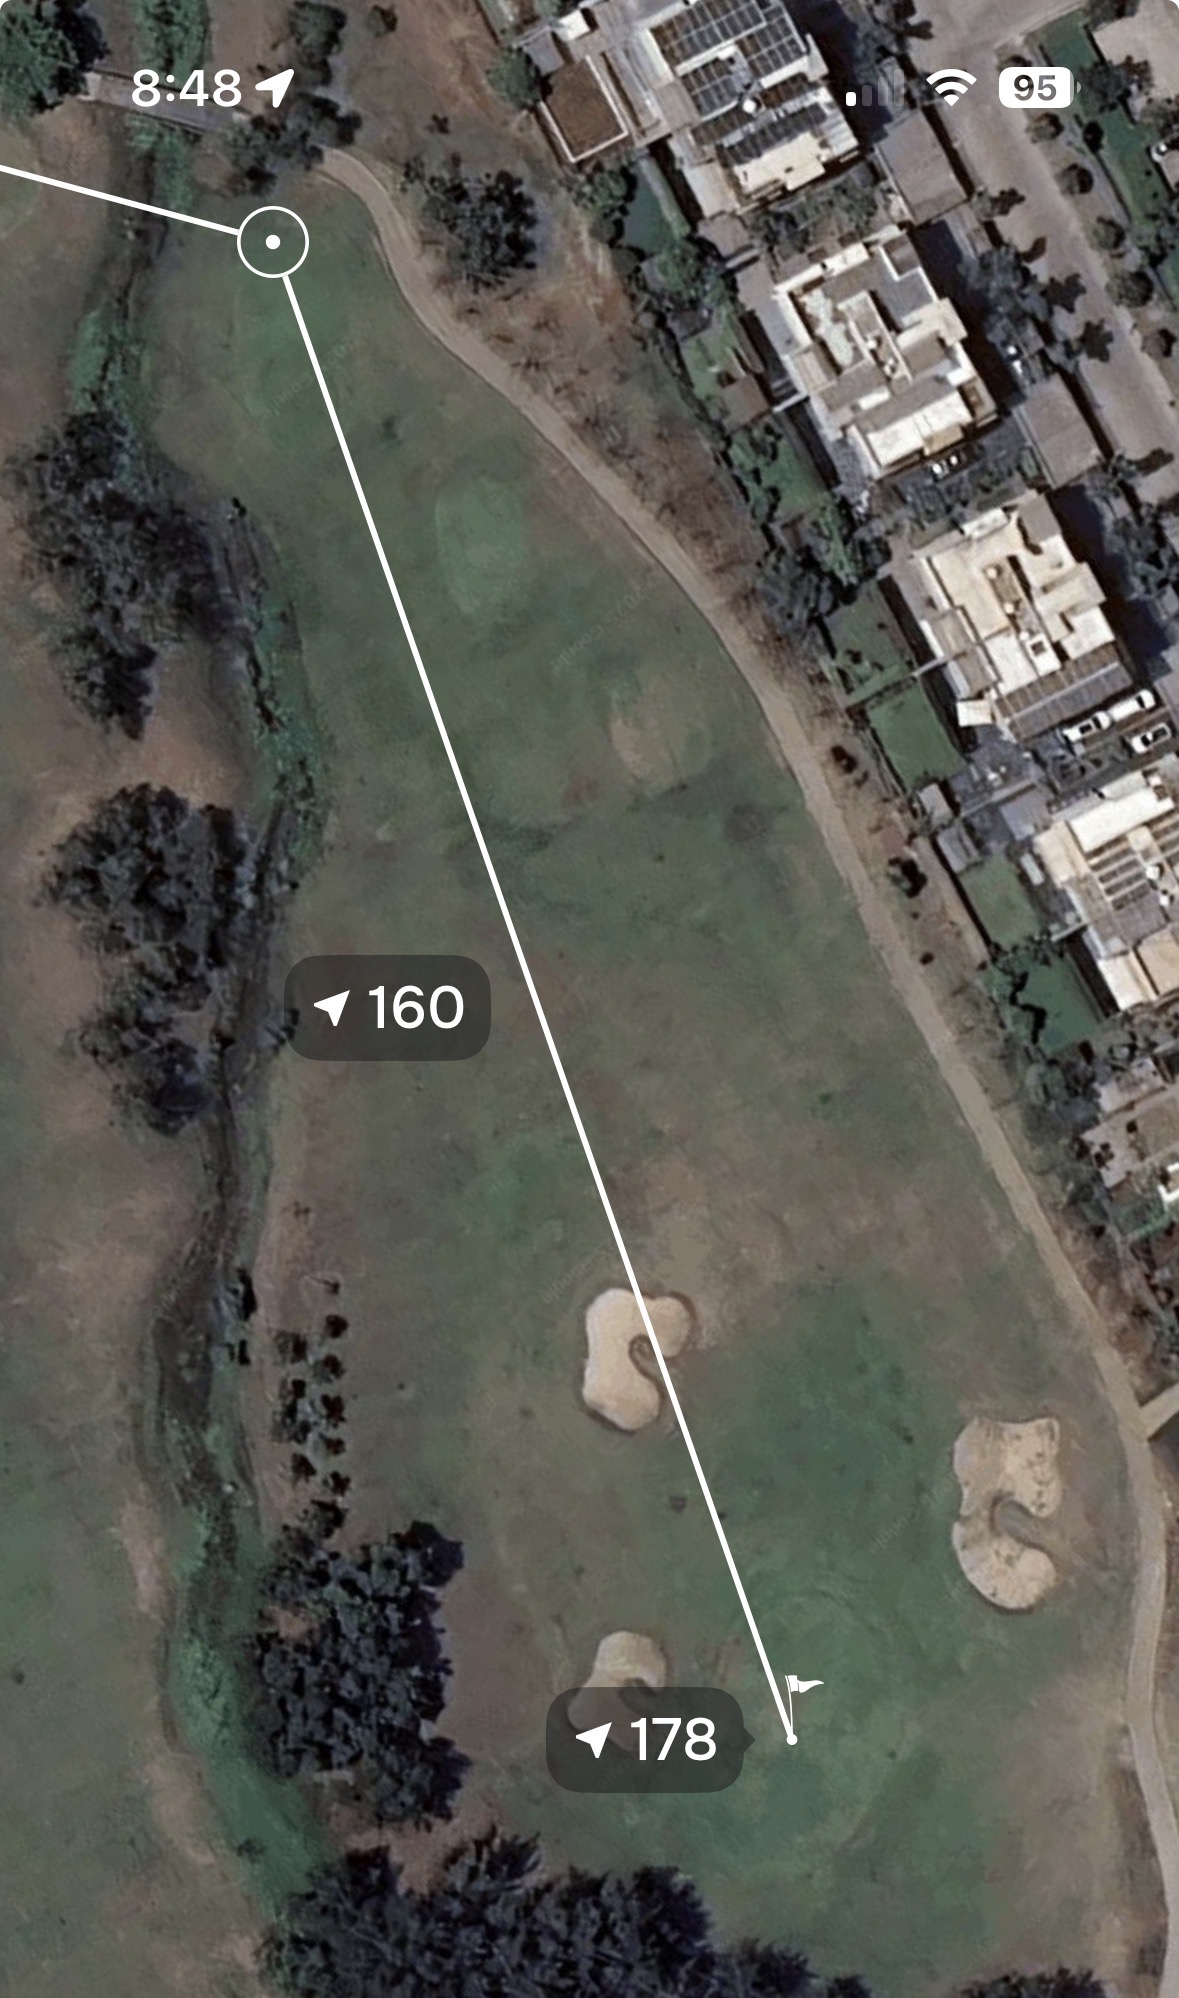
Hole – 8
(Par 3, 196/148 Yards): A long test late in the round (Index 5). The narrow fairway layout means any slice or hook will likely find trouble, so a conservative play to the safe side of the green is advised.
Hole – 9
(Par 3, 195/155 Yards): The second-most difficult hole (Index 2). It features beautiful but dangerous water hazards; staying dry is the priority here to finish your round with a clean card.